User Guide for TMProxy with BitBrowser
What is BitBrowser?
BitBrowser is a dedicated anti-detect browser designed for managing multiple accounts on the same device.
Each profile in BitBrowser has an independent browser fingerprint, combined with a separate proxy, making each account operate as if on a completely different computer and network — preventing platforms from detecting and banning your accounts.
Key Features of BitBrowser
- Multi-account management: Create and manage hundreds of browser profiles, each with its own fingerprint and IP.
- Browser Profiles (Desktop): Simulate desktop browsers with full fingerprint customization.
- Phone Profiles (Mobile): Simulate Android devices, suitable for mobile-first platforms.
- Automation (RPA): Supports automated scripts for bulk account operations.
- Team collaboration: Share profiles between team members without sharing cookies or passwords.
User Guide for TMProxy with BitBrowser with Images
Download and Installation Guide
Download BitBrowser from the official website, install it, then create an account and log in.
Part 1: Using TMProxy with Browser Profiles
Step 1 — Get proxy information from TMProxy
Log in to your TMProxy dashboard, select the API Key you need and copy the proxy information.

Note down the following details to fill in BitBrowser:
- Host: proxy IP address (e.g.
116.102.111.6) - Port Socks5: e.g.
59595 - Username and Password (UserPass)
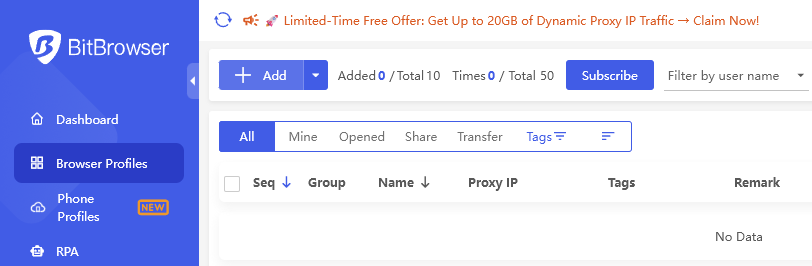
Step 2 — Open Browser Profiles and add a new profile
After logging in to BitBrowser, select Browser Profiles in the left menu. Click + Add to create a new profile.
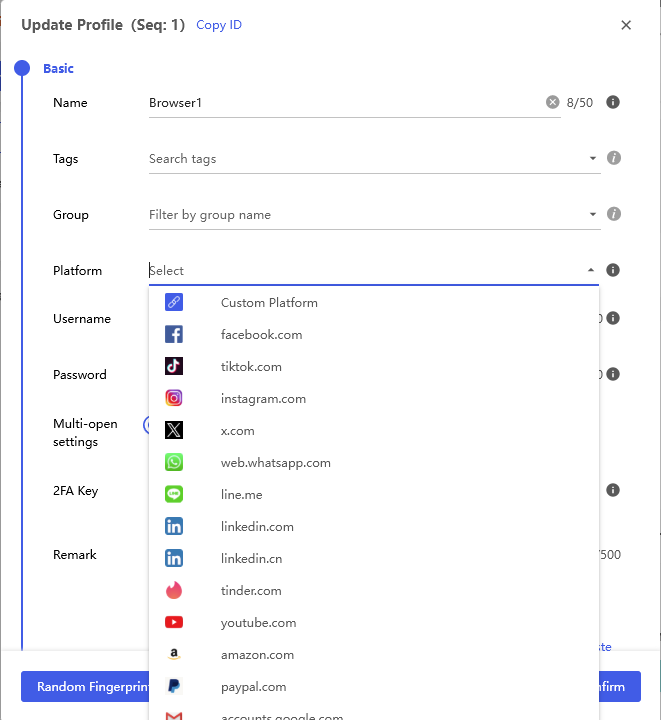
Step 3 — Fill in basic information
In the Basic tab, enter a profile name (e.g. Browser1) and select the Platform that suits your needs.
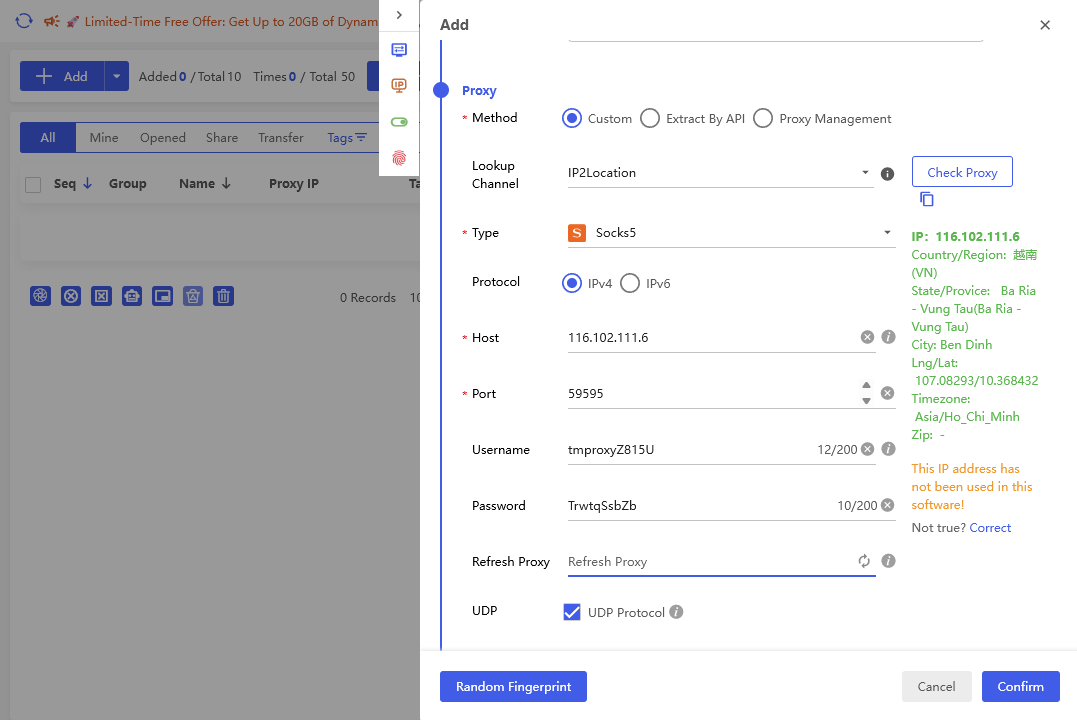
Step 4 — Configure Proxy
Switch to the Proxy tab and fill in the information as follows:
- Method: select
Custom - Type: select
Socks5 - Host: paste the proxy IP address (e.g.
116.102.111.6) - Port: enter the Socks5 port (e.g.
59595) - Username: enter your TMProxy username
- Password: enter your TMProxy password
- Click Check Proxy to verify — the IP location info will appear on the right if the connection is successful
- Click Confirm to save the profile
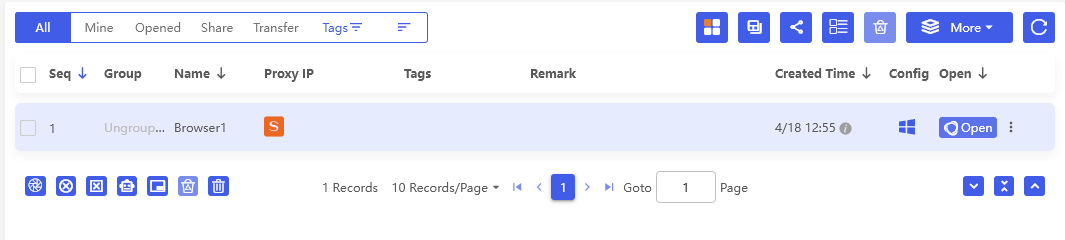
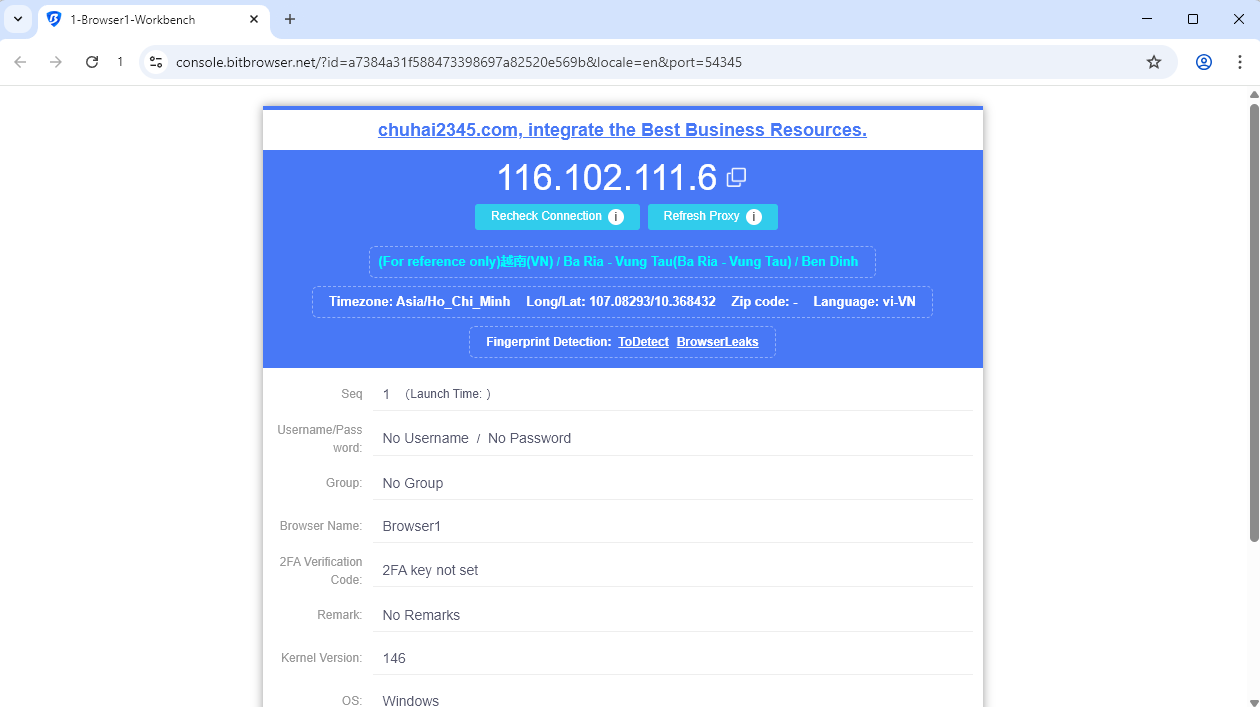
Step 5 — Open the profile and check IP
The newly created profile will appear in the list. Click Open to launch the browser.
The browser opens and displays an IP check page. If the IP matches the TMProxy proxy you configured, it is successful.
Part 2: Using TMProxy with Phone Profiles
BitBrowser also supports Phone Profiles — simulating Android devices (cloud phone). Proxy configuration is similar to Browser Profiles.
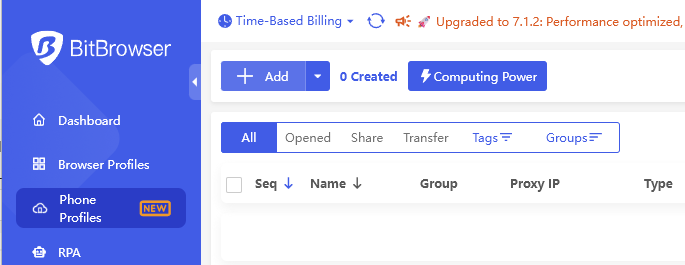
Step 1 — Open Phone Profiles and add a new profile
Select Phone Profiles in the left menu. Click + Add to create a new phone profile.
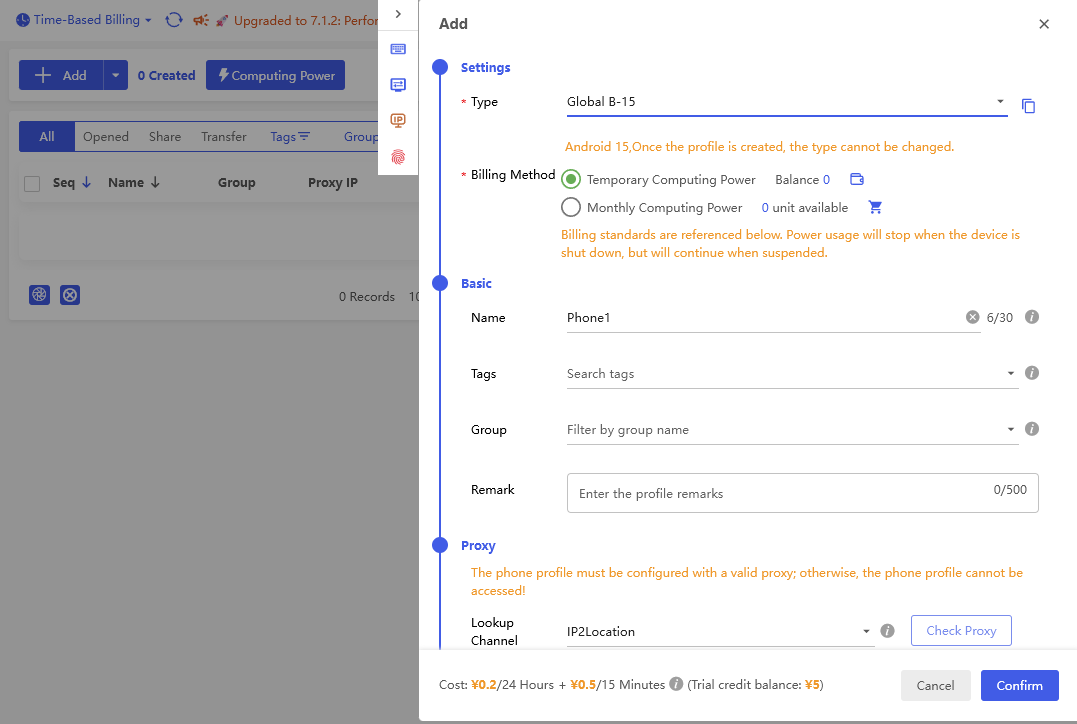
Step 2 — Configure Settings and Basic
In the Settings section, select the device type (e.g. Global B-15 — Android 15) and the appropriate billing method.
In the Basic section, enter a name for the profile (e.g. Phone1).
Note: The device type cannot be changed after the profile is created.
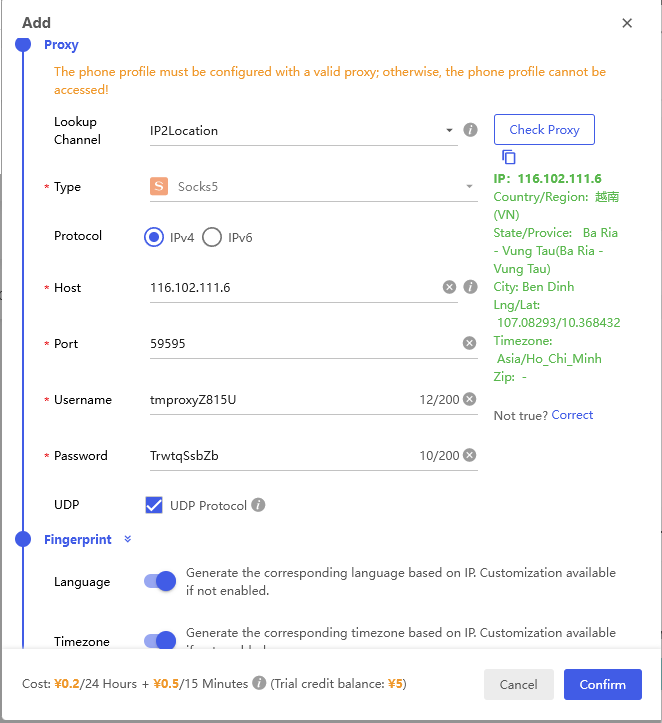
Step 3 — Configure Proxy for Phone Profile
Scroll down to the Proxy section and fill in all the information:
- Type: select
Socks5 - Host: proxy IP address from TMProxy
- Port: Socks5 port
- Username and Password
- Click Check Proxy to confirm the connection
Click Confirm to finish.
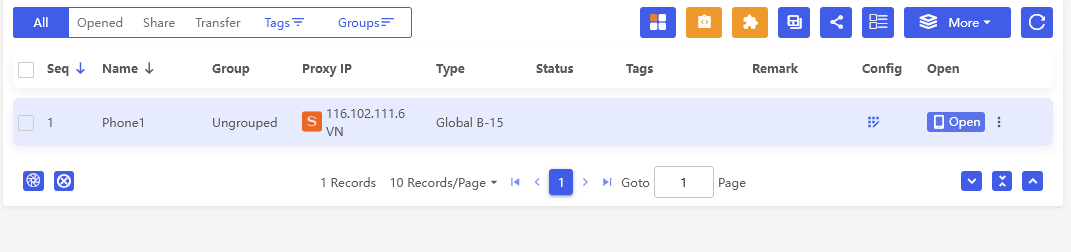
Step 4 — Open the Phone Profile and check IP
The phone profile appears in the list with the assigned proxy IP. Click Open to start the virtual device.
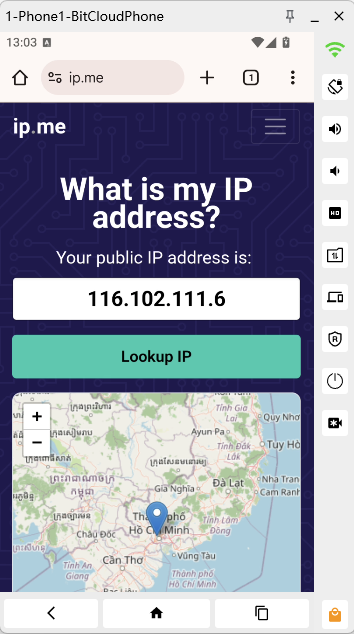
The virtual Android device starts and accesses the IP check page. If the IP matches the TMProxy proxy, it is successful.
This is the article User Guide for TMProxy with BitBrowser. You can apply the same approach to all profiles, combining different proxies to manage accounts in bulk efficiently. Good luck!
In addition, we have many instructions for using http proxy / socks5 on various software and tools. Please click on the link https://docs.tmproxy.com/guide/
Note!
To use the automatic IP change function, you must set up the configuration on the TMProxy Manager software (click here to download the software). See instructions for using TMProxy Manager here.
Disclaimer:
TMProxy is not affiliated with the developers of BitBrowser. This guide is for informational purposes only.
Get started with us at:
- Website: https://tmproxy.com/
- Fanpage: https://www.facebook.com/TMProxy